Creating a Visit from the Web Portal
To create a new Visit from the Web Portal for a site to which you have access, perform the following steps.
-
From the Filtering Tools bar, select a Visit Site. See Selecting a Visit Site from the Visitor Management application.
Note: If you are looking at All Sites, the New Visit button is not available.
-
Click Add New.
The Visit Details screen opens and you can configure the new Visit. See Visit Details.
-
On the General tab, configure the following settings:
-
Click Additional Details and populate the fields with the necessary
information.
This tab is available only if the Visit has been designated with additional specifications by an administrator that need to be completed in order to save the Visit.
-
On the Documents tab, configure the following settings:
- To add a document to the visit, click Add New.
- Optional: You can also View or download documents that are already attached to the Visit by choosing from the drop-down list. See Attaching Documents to a Visit.
Note: There may also be Documents already attached to the Visit that are from the Visit Site - these document attachments cannot be removed.Figure 1. Viewing documents 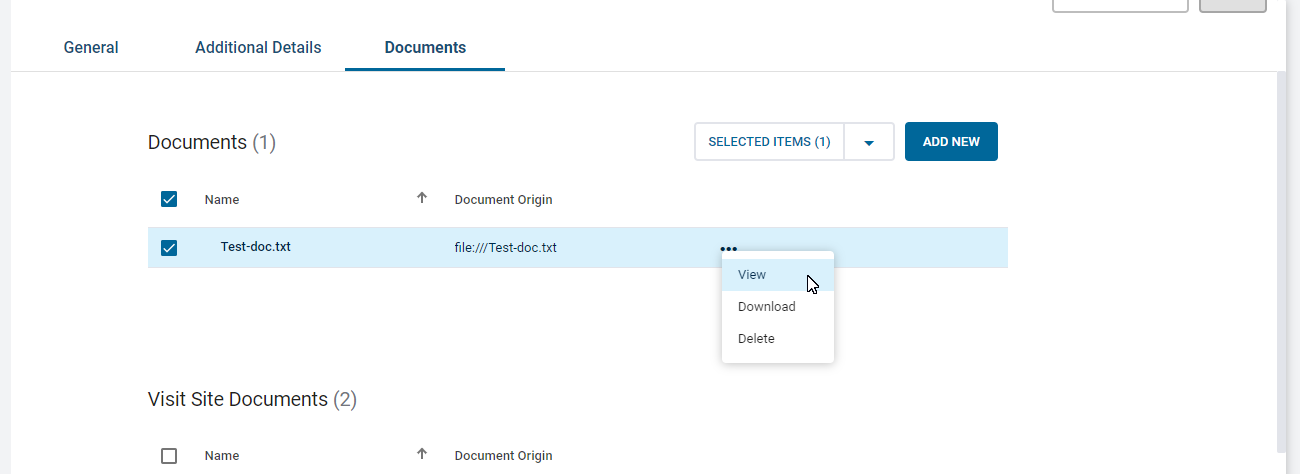 Note: Not all attached documents can be viewed and downloaded. Some options may differ, depending on the internet browser that you use to access the Web Portal.
 -
Select one of the following options:
- To save the Visit as a draft, click Save Draft.
- To save and email the Visit, click Save and Email.