Checking in Visitors
To check in a Visitors from the Reception screen, complete the following steps.
- In the Visitors list, navigate to the Visitor to be checked in and click the Visitor's options button.
- From the context menu, click Check In.
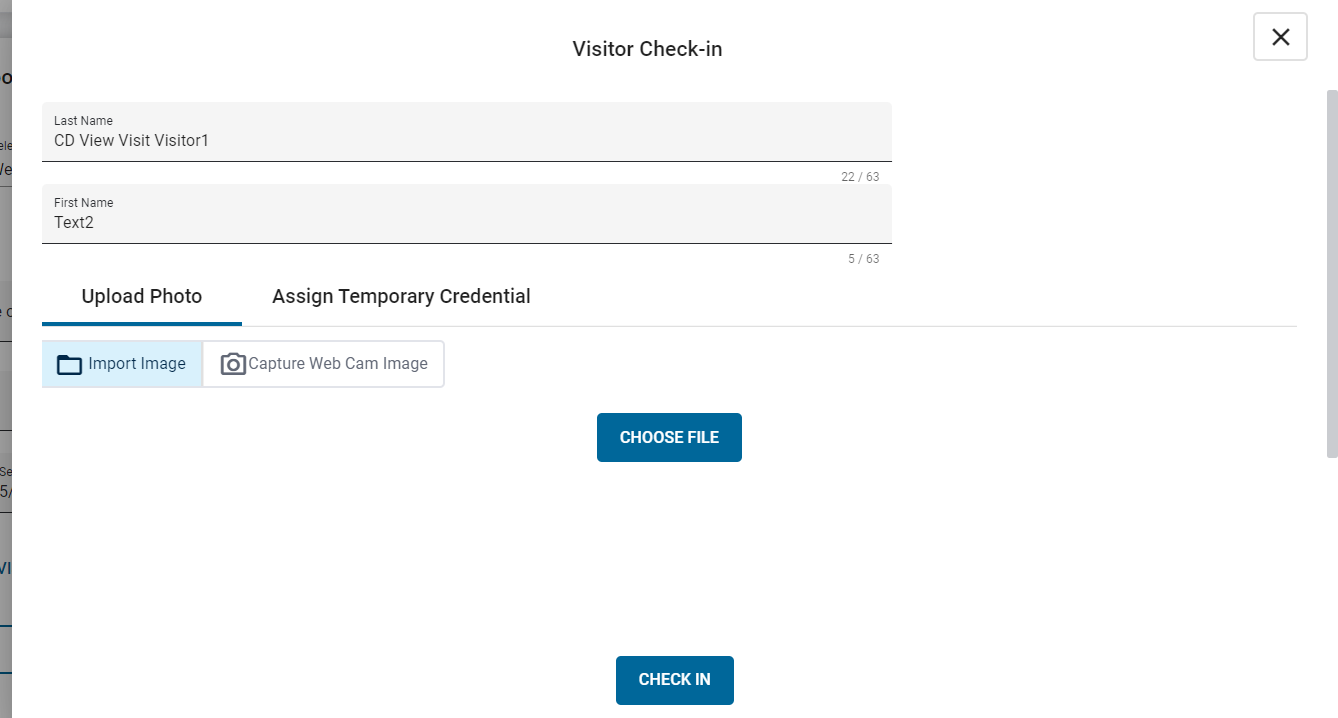
- Optional: On the Visitor Check-in screen, edit the Visitor's last name or first name.
- Optional: On the Assign Temporary Credential tab, assign a temporary credential. For more information, see Steps 4 to 6 in Assigning Temporary Credentials to a Visitor.
- Optional: On the Upload Photo tab, add a photo for the Visitor. For more information, see Capturing Visitor photos.
-
Click the Check In button.
Note: If the Visitor is not assigned to any of the Receptionist's Visitor Partitions, the Receptionist can check the visitor in, but cannot modify the Visitor's properties, such as user-defined fields and the Visitor's photo.